Choosing Between Standard, Raised, and Cantilevered Truss Heels - Beginning with the end in mind.
When it comes to roof design, trusses are doing a lot of the heavy lifting. But one detail that is often overlooked is the truss heel, and that small detail can make a big difference in how your building performs.
Let’s walk through the three most common truss heel configurations: standard, raised, and cantilevered. Whether you are designing a new home, building a shed, or working on a commercial project, understanding heel types can help you make better design decisions from the start.
What Is a Roof Truss (and a Heel)?
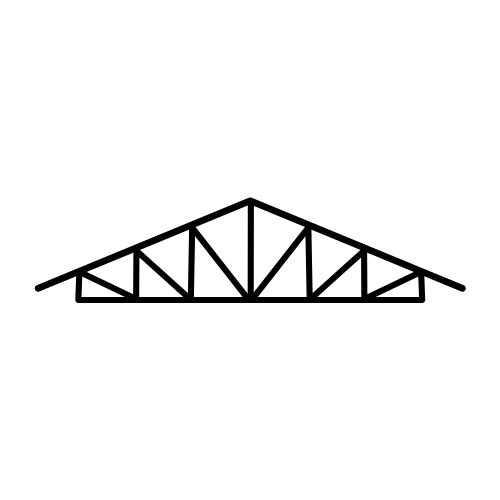
A roof truss is a structural framework made from wood members connected by metal gusset plates. Most trusses are triangular in shape and designed to evenly distribute weight from the roof through the walls and into the foundation. They are used in residential and light commercial construction and are typically built with 2x4 or 2x6 lumber.
The heel is the part of the truss that sits directly on the wall. It is the point where the top and bottom chords meet. It may seem like a small detail, but it plays a big role in insulation, ventilation, and roofline height.
Standard Heel

This is the most common and budget-friendly option. In a standard heel, the top chord comes straight down to meet the wall and sits directly on the bottom chord. The height of the heel is the same as the depth of the top chord, usually around 4 to 6 inches depending on the lumber.
Pros:
Simple and cost-effective to build
No need for extra siding or soffit modifications
Ideal for garages, sheds, and buildings with lower insulation requirements
Cons:
Limited room for insulation near the edge of the roof
May reduce attic space if you are planning to use it
This heel is the most common, works well for most uses and keeps things simple.
Raised Heel
A raised heel lifts the top chord above the wall plate, creating more vertical space at the edge of the roof. This setup allows for deeper insulation and helps meet ventilation requirements, especially in colder climates.
Pros:
Supports full-depth insulation all the way to the wall
Helps meet more demanding energy code requirements
Increases attic space, which is great for bonus rooms or storage
Cons:
Requires more material and labor
Often needs additional siding and blocking
Higher cost due to added complexity
If energy efficiency or attic space is a priority, the raised heel is a smart choice.
Cantilevered Heel

A cantilevered heel extends the bottom chord beyond the wall to create an overhang. It is a clean way to frame eaves or cover a porch while supporting good insulation and ventilation.
Pros:
Built-in support for soffit material
Consistent heel height across different roof pitches
Supports deep insulation and proper airflow
Offers attic space similar to the raised heel
Cons:
More complex to build
Requires soffit enclosure to hide the exposed truss ends
This is a popular choice when the look of the roof matters as much as how it performs.
Conclusion
Choosing the right heel configuration depends on your project’s goals, including budget, insulation needs, attic usage, and exterior appearance.
Choose a Standard Heel for structures with less demanding insulation
requirements.
Go with a Raised Heel if insulation and attic space are priorities.
Consider a Cantilevered Heel for a polished look with added function.
Need help with roof truss decisions?